On this page
As a business administrator, you can add authorised users to your business or organisation’s account on the register. Authorised users can perform all or some actions in the register (depending on the permission settings), but they cannot add other users. You can also add additional business administrators, who can perform all actions in the register, including adding or deleting other business administrators and authorised users.
4.2.1 Add other business administrators and authorised users to ACMA Assist
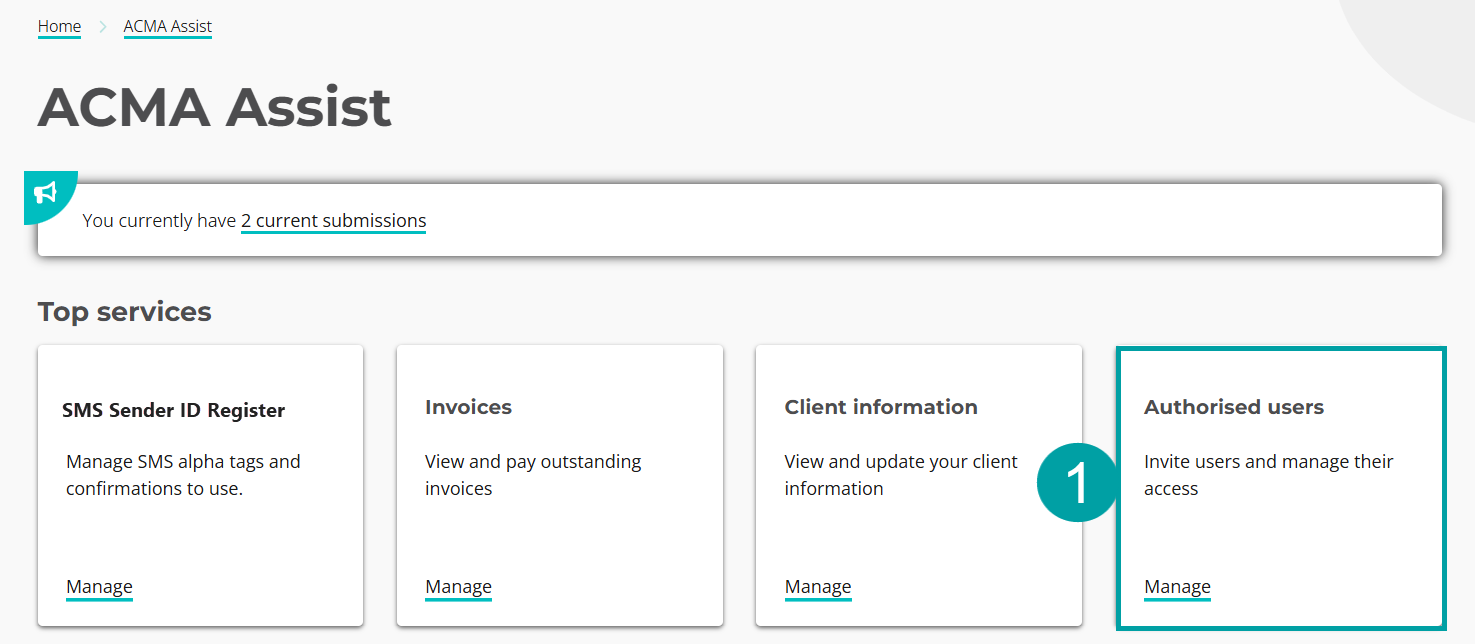
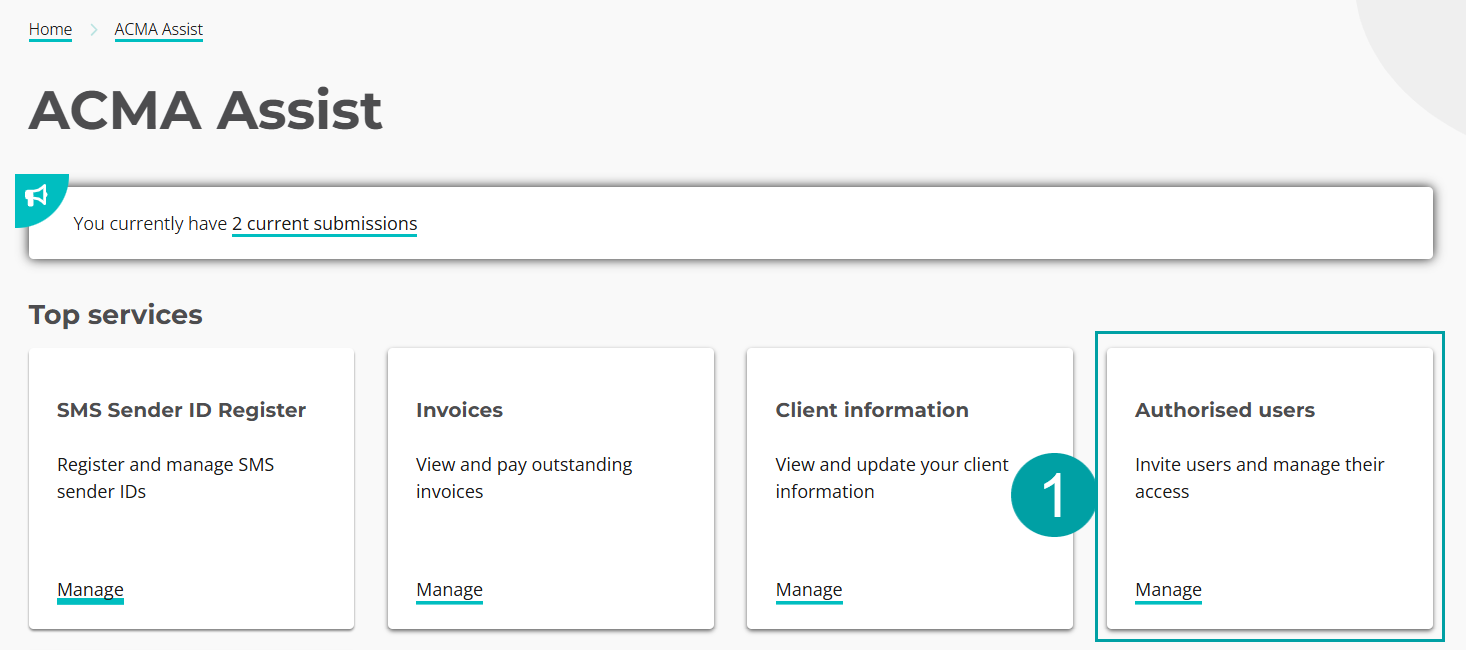
From the ACMA Assist homepage:
- Click on the Authorised users tile.
|
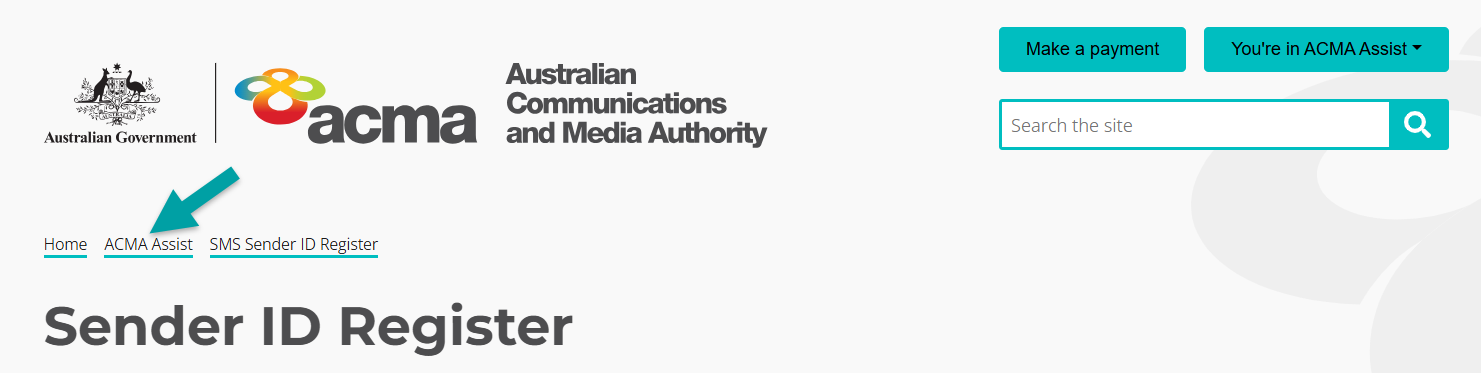
Note: You can return to the ACMA Assist homepage from any screen on the register by clicking on the ACMA Assist breadcrumb at the top of the screen.
|
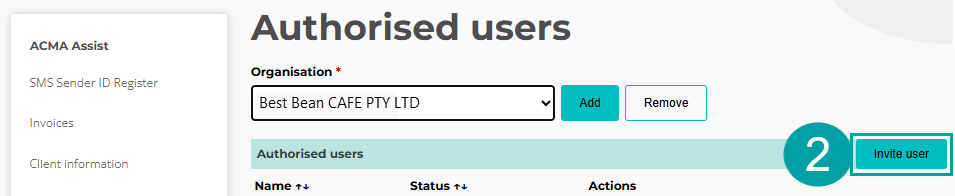
- Click on the Invite user button.
|
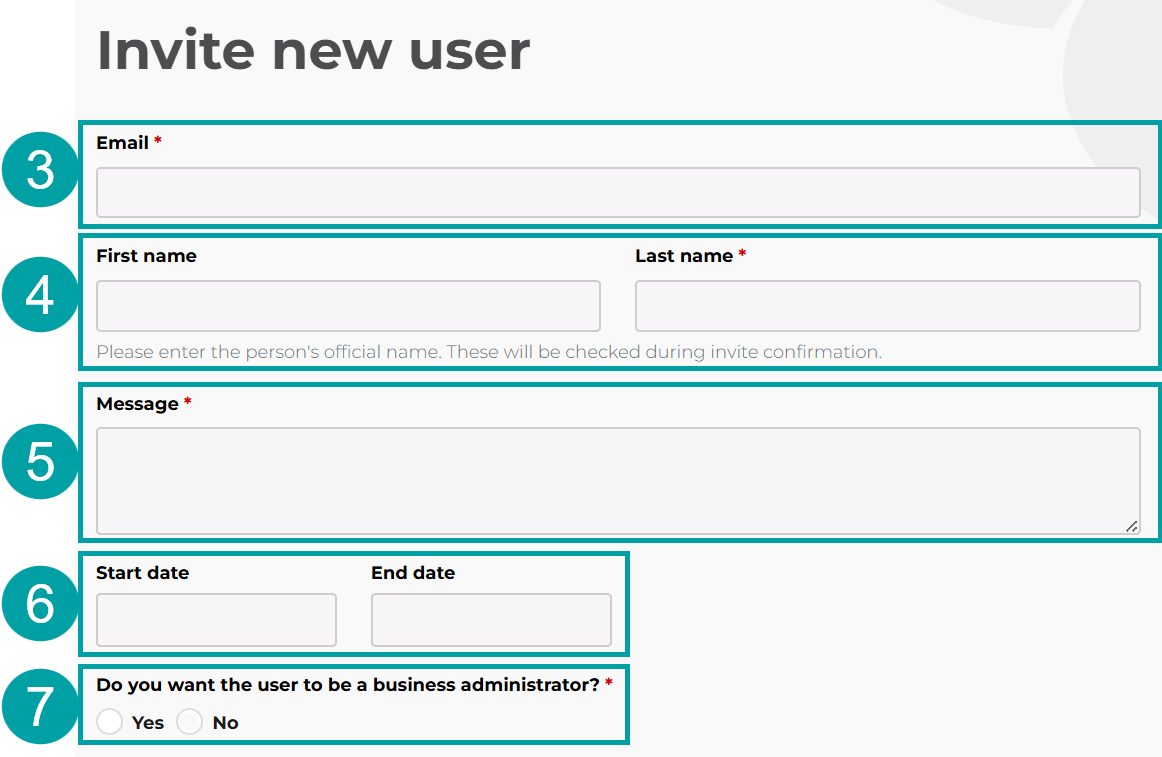
- Enter the new user’s email address
- Enter the new user’s first and last name
- Enter a message to the user. This will appear in the email invitation. For example, ‘I am inviting you to access the SMS Sender ID Register, so you can apply to register and manage sender IDs on [your organisation name]’s behalf.’
- Enter a start and end date for their access if needed. You can leave this field blank.
- Check
- Yes to make the new user a business administrator which will allow them to perform all functions, including adding and removing users. Skip to step 9
- No to make the new user an authorised user and customise the permissions. Authorised users can not add or remove other users.
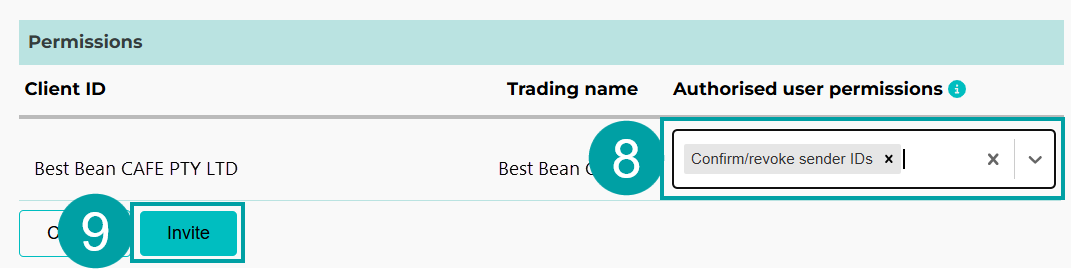
|
- Select the user permissions from the drop-down menu.
- Click the Invite button.
|
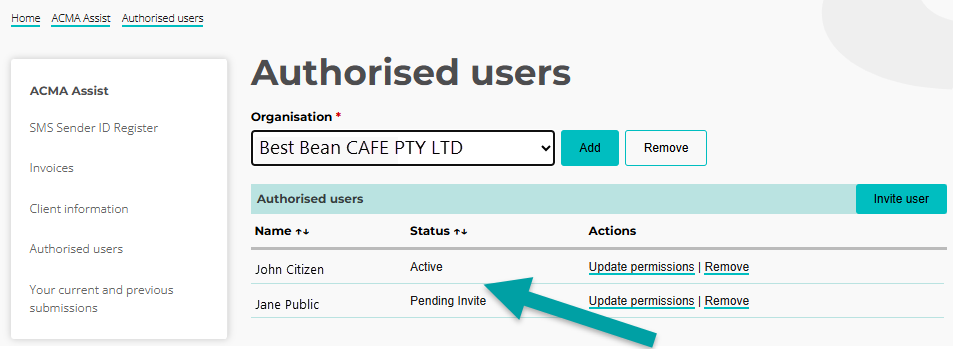
An email will be sent to the new user inviting them to access ACMA Assist. Once they accept the invitation, their status will change from Pending Invite to Active.
|
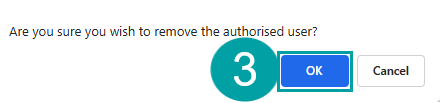
4.2.3 Delete other business administrators and authorised users from ACMA Assist
Business administrators can update user permissions at any time.
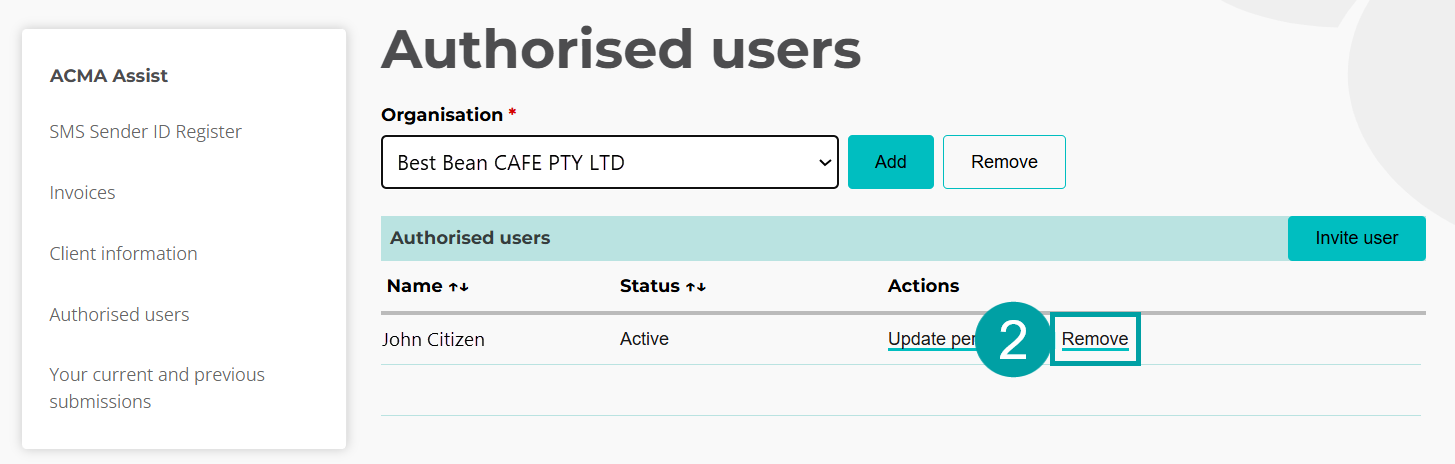
From the ACMA Assist homepage:
- Click on the Authorised users tile.
|
- Click on the Update permissions link next to the user whose permissions you want to update.
|
The permissions screen will open
- Update the start and/or end date
- Check
- Yes to change the user to a business administrator, which will allow them to perform all functions including adding and removing users. Skip to step 7
- No to change the user to an authorised user and customise the permissions. Authorised users can not add or remove other users.
- Click the X next to any permissions you want to remove
- Select the user permissions from the drop-down menu. The permissions available will depend on whether you are an originating, terminating and/or transiting telco.
- Click on the Update button
|